Rule[]
Each hull zone has its own shield dial and maximum shield value. The number displayed on the shield dial indicates the hull zone’s remaining shields.
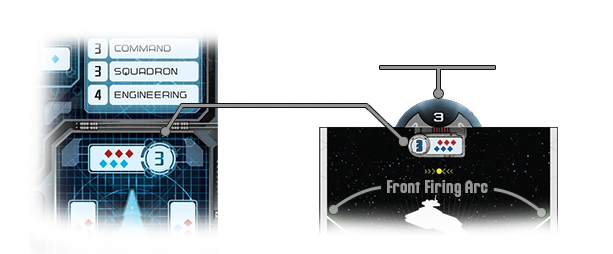
Shield Value is found at the Ship Card and Ship Token. The Shield Dial is part of the Ship Base.
Each ship begins the game with its shield dials set to the maximum shield values shown in the corresponding hull zones.
When a ship spends, loses, or recovers shields, rotate the shield dial to indicate the shields remaining in that hull zone.
A hull zone cannot have more shields than its maximum shield value, and it cannot recover a shield if it is at its maximum shield value.
A hull zone cannot have fewer than zero shields, and it cannot lose a shield if it has none remaining.
Source: RRG 1.5.0 p.16
[]
 • Wat Tambor (Seperatist Officer): "
 : You may spend up to 2 shields from any of your hull zones or any 1 hull zone on another friendly ship at distance 1-5 to gain twice that many additional engineering points."
 • Tranquility (Venator Title): "While defending, after the Spend Defense Tokens step, if you spent fewer than 2 defense tokens, you may move up to 2 shields from 1 of your hull zones to the defending hull zone. ..."
- • Aspiration (MC75 Title): "When you deploy this ship, you may move shields to up to 2 of your hull zones from your other hull zones. If you do, the number of shields in a zone cannot exceed a maximum of "6". You cannot recover shields while any zone is greater than its maximum shield value."
- • Dominator (VSD Title): "While attacking at close-medium range, you may spend up to 2 shields from any of your hull zones to add that number of blue dice to your attack pool."
- • Shields to Maximum! (Fleet Command): "At the start of the Ship Phase, you may discard this card or spend a token. If you do, until the end of the round, before a friendly ship reveals a command, it may recover 1 shield."
- Redundant Shields (Defensive Retrofit): "Modification At the start of each Status Phase, you may recover 1 shield."
- Ion Cannon Batteries (Ion Cannons) "Blue : Choose and discard 1 command token from the defender. If the defender does not have any command tokens, the defending hull zone loses 1 shield instead."
- Auxiliary Shields Team (Support Team) ": You may treat the maximum shield values of your right and left hull zones as increased by 1 when you recover or move shields to those zones. If you do, the number of shildes in those zones cannot exceed a maximum of "4"."
- Projection Experts (Support Team) ": You may spend up to 2 engineering points to move that many shields from your ship to a friendly ship at distance 1-5."
[]
- • Keyan Farlander (B-wing Ace): "While attacking a ship, if the defending hull zone has no shields, you may reroll any number of dice in your attack pool."
- • Luke Skywalker (X-wing Ace): "While attacking a ship, treat the defender as having no shields."
- • Norra Wexley (Y-wing Ace): "Friendly squadrons with Bomber at distance 1 gain: „: The defending hull zone loses 1 shield.“"